Saturday, December 4, 2010

Slightly Elevated Bilirubin Means

[WIP] Energy


A new option for the turret artillery: the Energy Gun. I am particularly happy with the result, one imagines crackling energy and power!
Note the mini hatch match the weapon used. Here, the mini tower is transformed into giant battery, but with the + and - and a bit of technology to manage it all!
can also see the addition of a sensor in question, since the turret has no view on the outside.


What Shops Can I Find Beyblades At

Gun Tools: Emboss it, the press rivet

And you are done. I cracked. Here we go, a small tour:


The drill press home the rivets is ancient history. Place the rolls of the presses. For the record, the original creator of this tool is actually NWSL , a company specializing in precision tooling for model railways, among others. They have their catalog the Sensi-Press + :
The concept of "made in USA" from NWSL has been copied in every detail by Micro-Mark, shame on them, version "made in ASIA "with $ 150 less on the final price. I was curious to see if the quality would be the appointment. Despite my fears, build quality is there. By cons, who said said precision tool setting accuracy. In fact, for two tips with rivet heads sometimes up to a few tenths of a millimeter wide, the mechanics must be perfectly aligned. This setting is done through all small knobs red, visible on the pictures below:
With movable platform, we can fix the sheet of plastic card to work together and push rivets at intervals scheduled for greater realism.
Time will tell if I use often serves this plateau. A priori, Ork and regular rings a little false. But who knows ... who can do more can do less!
This release may also be used as a punch accuracy. Here is the option in question:
In this case, remove the movable table and are replaced by those riveting butt pastry cutters. The result is perfect, repeatable holes alike, without editing, without burrs, and free press around the hole. Clearly, we gain time and quality. Hoping to further increase the quality of my creations at work now!


Monday, November 29, 2010

Lots Of Yellow Cervical Mucus

[WIP] Turret Artillery

Here we go again! After small turrets, great! Forthcoming in dairy, with other options of weapons and hatches to come ...
A little nod to all lovers of kitsch and nostalgia, a good roof tile as it does more! Obviously this is a matter of taste, so other hatches will follow in a more classic style. What cheer silos shells.
When business gets tough, there is always an emergency exit! Weasel door at the back of course!
The kit WIP:
And one little last family photo, for scale:

Sunday, November 7, 2010

Writing Christmas Cards For Friends

[WIP] Shooting a lookout

I have already spoken several times of my lathe ... which in recent times more plastic than plant Wood actually. This time, I'll go into more detail with a gun carriage in WIP. For the model of turn, it is a 
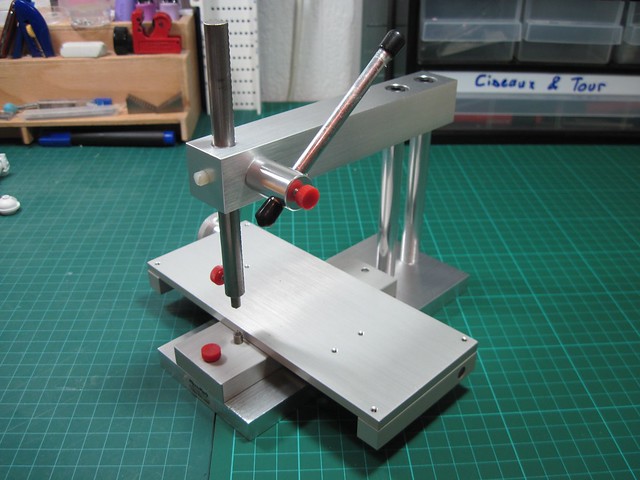
Proxxon DB250 machine from 1000 to 5000 revolutions per minute.

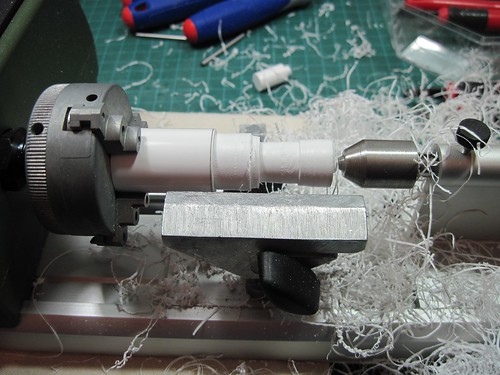
This tour consists of the frame (4), a mandrel (1), a tool holder (2) and a tailstock (StuffCC thank you:)) in (6). The latter keeps in line a room in case it is too long or too wide. Without this maintenance, the piece that retained the side of the core tends to vibrate. This vibration generates an oval cup and not perfectly circular around the tube.
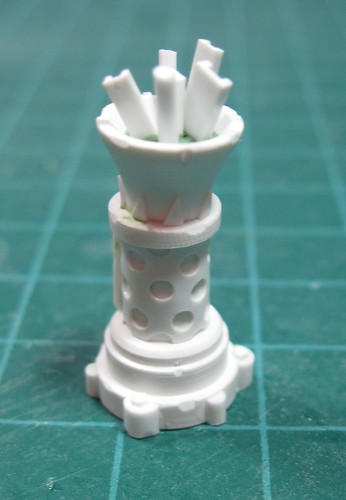
To begin, you must obtain full PVC tube to be machined. We found for example in the hardware or hobby store.
We bring a portion of the tube on the mandrel. In my case, I use a chuck with three branches.
Once the room is tight, you can bring the tailstock. The cutting process can begin. Issue tools, I use miniature chisels. No surprise from this side, the plastic working with the same ease. The only point that needs to be careful is the temperature. If the tool is too long in one place (several seconds) then it will melt the PVC.
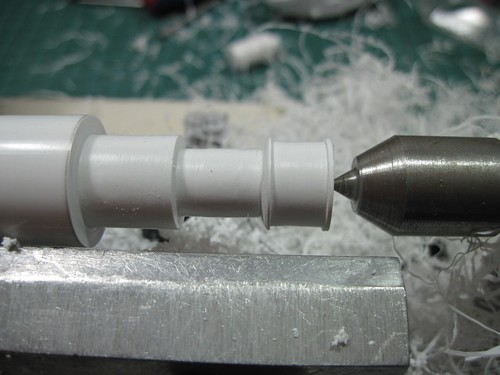
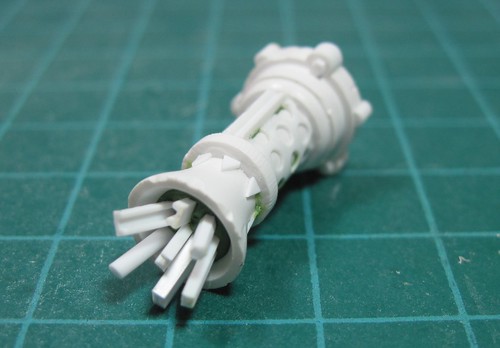
I begin by coring the largest volumes. The most important being not to remove too much material as you can not go back! I mark in pencil directly on the tube the width of the various cylinders. One can see that for the moment, the plastic surface is rough, the care and finesse to come after finishing. The rule is simple, more material is removed at once, over the surface will be rough.
It may be noted that the center of the cylinder is not perfectly straight. We can catch these differences in shape by putting a file directly on impulse with the movement of coming and going. Exactly as if we filed her room, except that the tower is working for you!
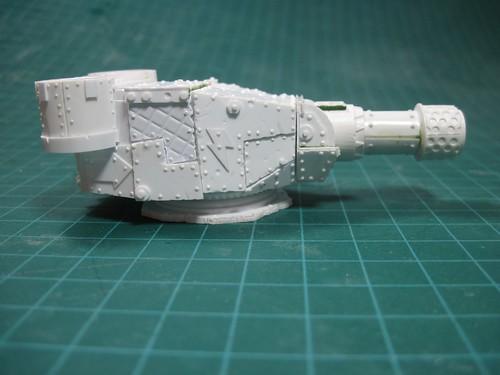
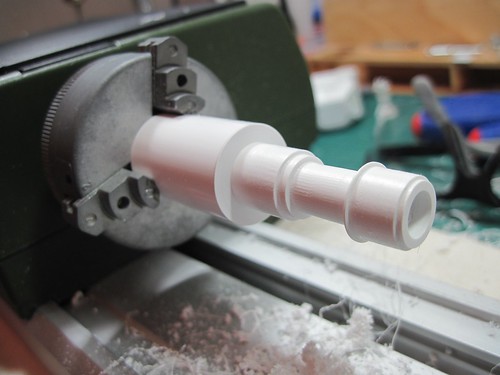
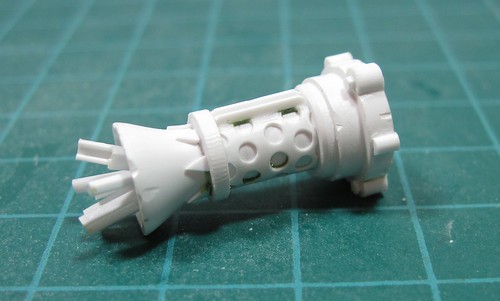
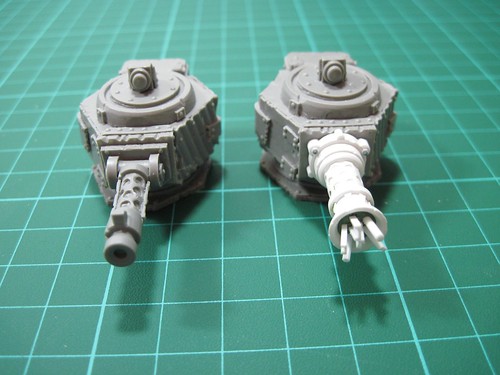
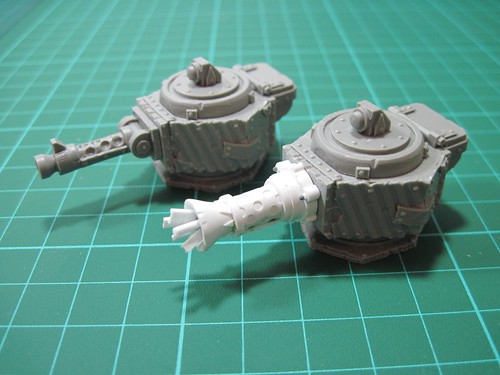
can then pass on the look of the gun. The room is small and tight enough to remove the tailstock without risk.
And now, it only remains to separate the part of the trunk are! For that I use a model that I saw just asking about the room to place the desired cut. The machine running at 1000 rpm, it effortlessly and cleanly that the room is separated. To finish, I use a paper towel and an old toothbrush that I use back and forth on Exhibit engine running. This report provides a very smooth.
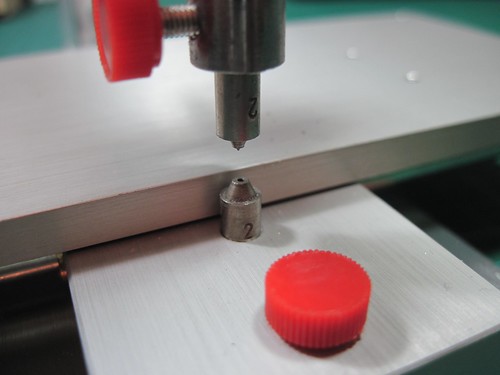
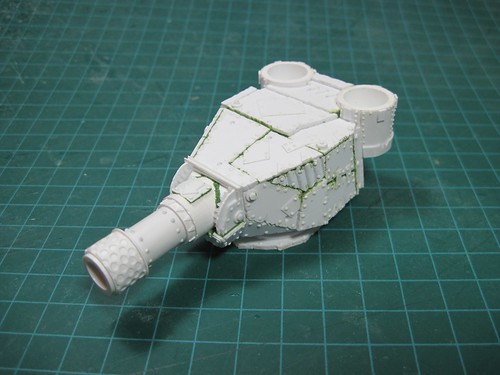
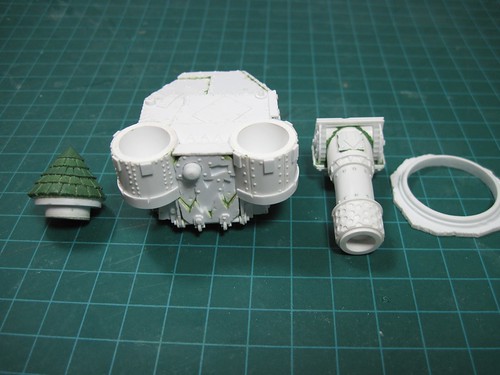
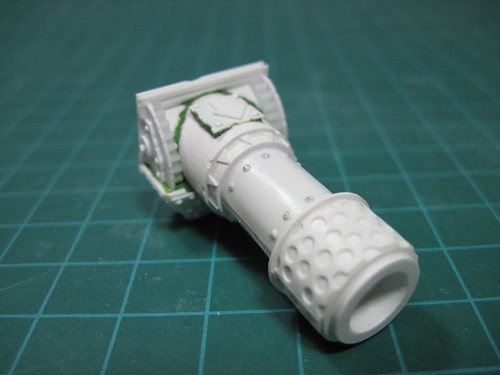
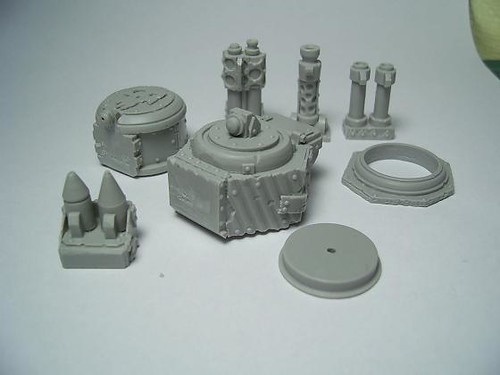
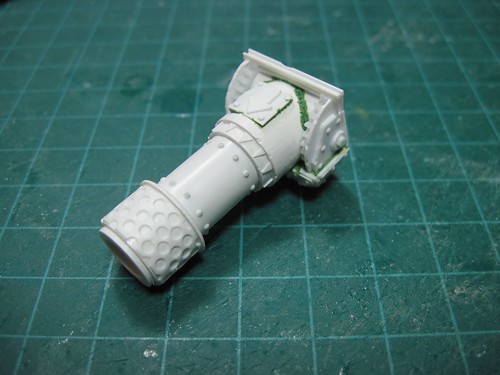
can go into the details: From the sheet of 0.3 mm and 0.5 mm on the cylinder, a punch for the holes, my machine rivet and plastic gears found on Ebay. Here is the final version:

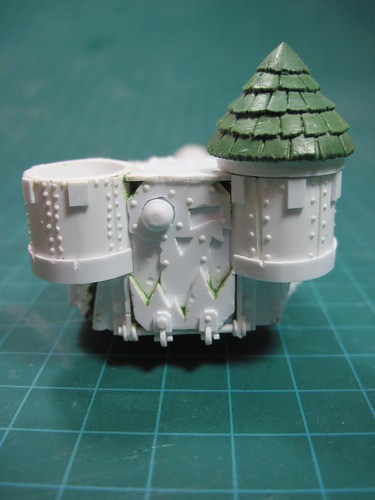
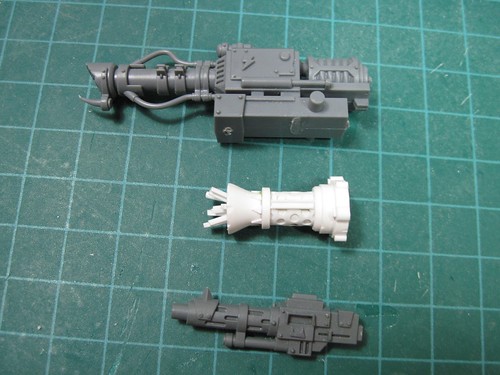
This gun will soon be used for a large turret. To be continued!

Wednesday, November 3, 2010

How Often I Can Take Steam Bath

[WIP] Scrap Gun turrets

A new option will be created for small format turrets, Pattern and Vertod Rehrborg. This is the Scrap Gun! Here is an overview of progress:
A comparative view for scale:
[SHIFT] Here is an overview of the scrap with the gun turret RerhBorg:


Friday, October 22, 2010

Stomach fetishism


It unmasked with pleasure that I announce myself associated with Artur Site MaxMini.eu , see his blog http://kromlech.eu/ to distribute my new creations. My medium term goal is to let MaxMini.eu handle the production and distribution, which will leave me time to concentrate on creations.
These are actually 2 kits will be available, one for each turret, which contain the 2 arms and the base.
And here's a preview of the first pre-productions:

And the original: